4) You will need to have on hand local plumber tape, small gas torch, solder, flux, plumbing sandpaper, pipe cutter, gas tape (to seal gas line) and maybe some pipe glue. Ask the sales person at the hardware store for a more defined list.
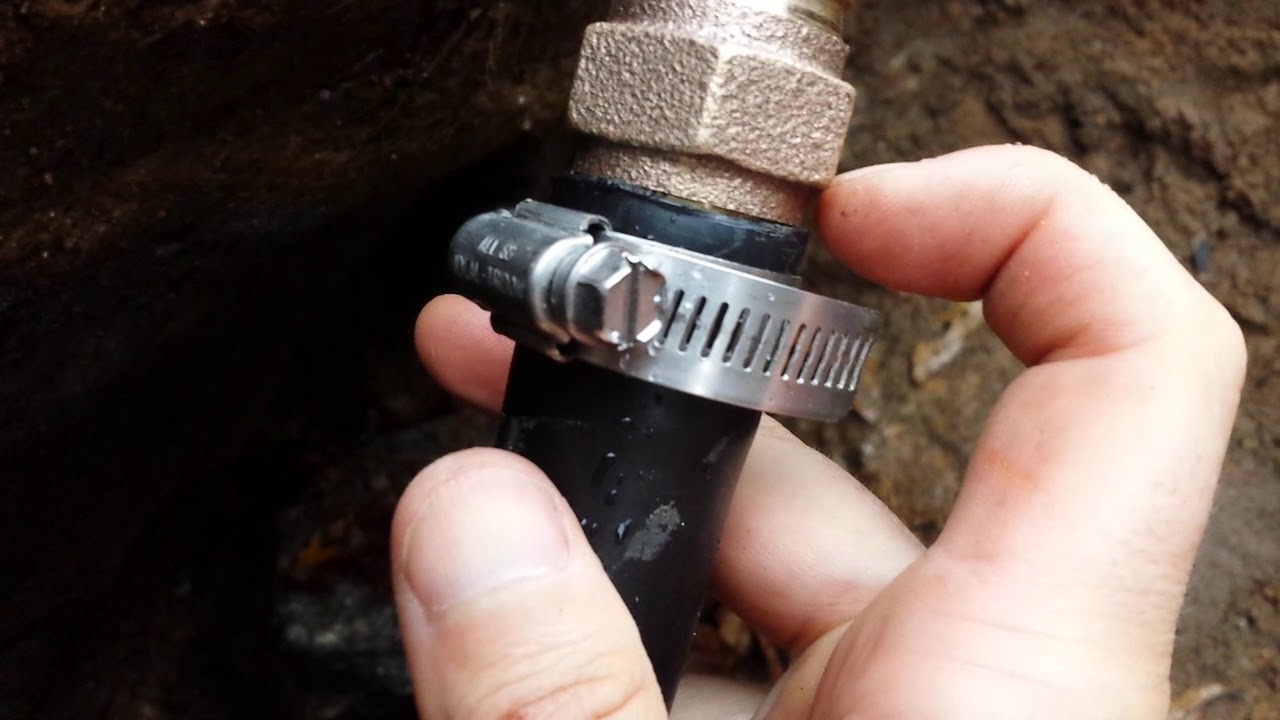
If you find that the water line repair leak is in the supply line you will need to replace it or simply tighten it. Start by turning the water supply off and then flushing the toilet to get rid of the excess water. Now use the towels to dry the area so that it is easier for you to fix the leak. Use a wrench to loosen the hexagonal nuts on the supply line at the main end as well as the one which goes to the flush tank. Now use the replacement supply line which you have and tighten the bolt at the supply end first. Now adjust the length that you will need for the pipe to reach the flush tank. Once you adjust the length use a knife to cut the extra length and then tighten the hexagonal bolt at the other end.
The first thing you need to do after leakage starts is to shut the water supply before you remove the faucet. You can either shut the valve in the sink or the main valve of your home. After that ensure that the water in the water line is drained and also the air pressure s released. This will also help in saving a lot of water that might have been wasted due to the leakage.
Blisters in asphalt or felt roofs only need to be treated if they contain water or have caused the roof covering to leak. Press the blister to check if moisture is expelled. If so, it must be sealed with a patch.
Check that your plug holes and waste outlets are clear of hair and solidified soap also check the "U" bends or traps under your sinks for potential blockages. Occasionally pour boiling water line repair down your sinks and shower wastes not forgetting the washing machine trap. Look outside too for any weeds or leaves that may be blocking gutters, gully's and waste outlets.
Plumbers should always have a durable and long lasting ventilation system ready for any job. Having clean air in ready supply can make many tougher jobs go much more smoothly and will cut down on the risk to the plumbers considerably.
Then, you can take your new shower parts home and reinstall them in the inner assembly. It is very important that everything be aligned properly and tightened to prevent leaks. Beware of over tightening, however, since this can also cause problems. Once you are sure everything is installed properly, replace the cover plate and turn the water back on to test your repair work. With a little bit of work, your do-it-yourself shower repair project can be a success. It does not take an expert, just a little effort and know how.